Eden on Earth
Hosta Root Ball (Size Options)
Hosta Root Ball (Size Options)
Couldn't load pickup availability
NOTE: This item DOES ship at peak dormancy. Cold conditions do not affect root ball.
How to Plant and Care for Hosta Root Balls
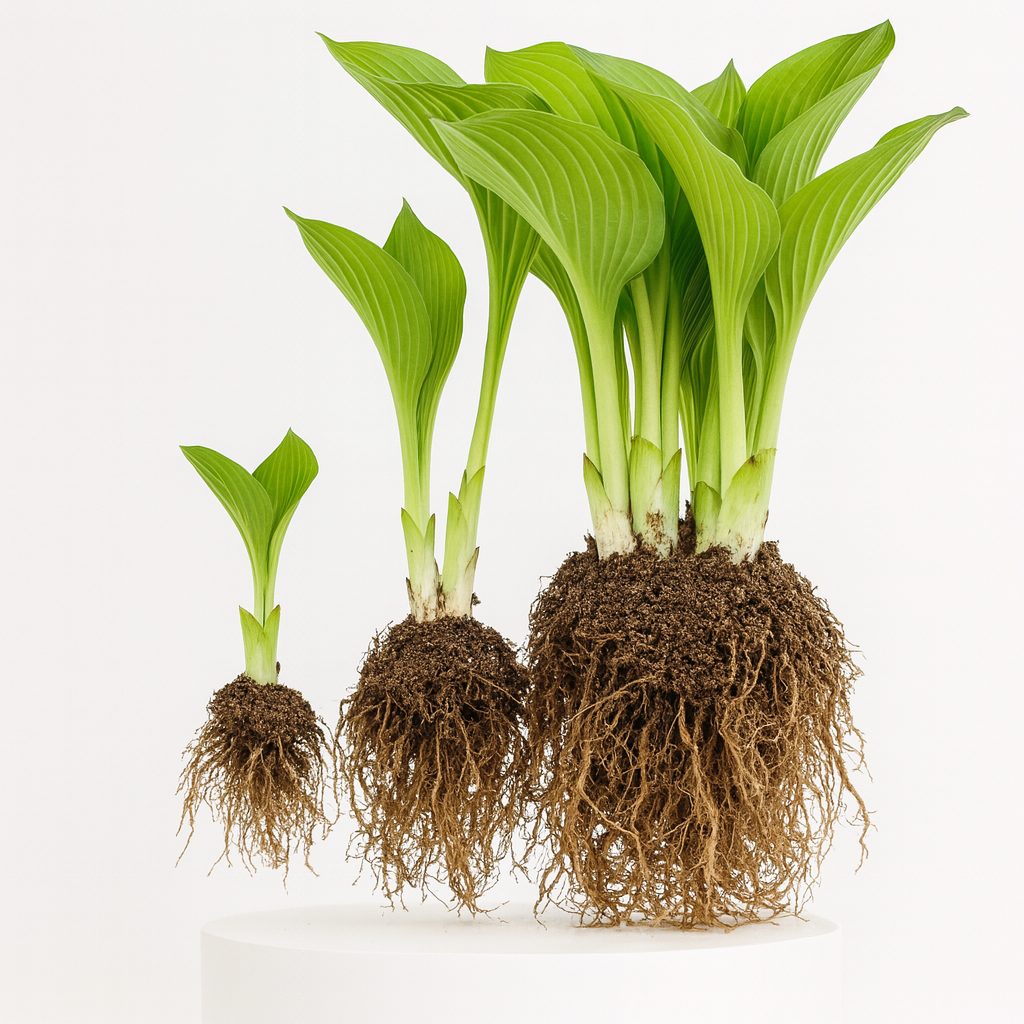
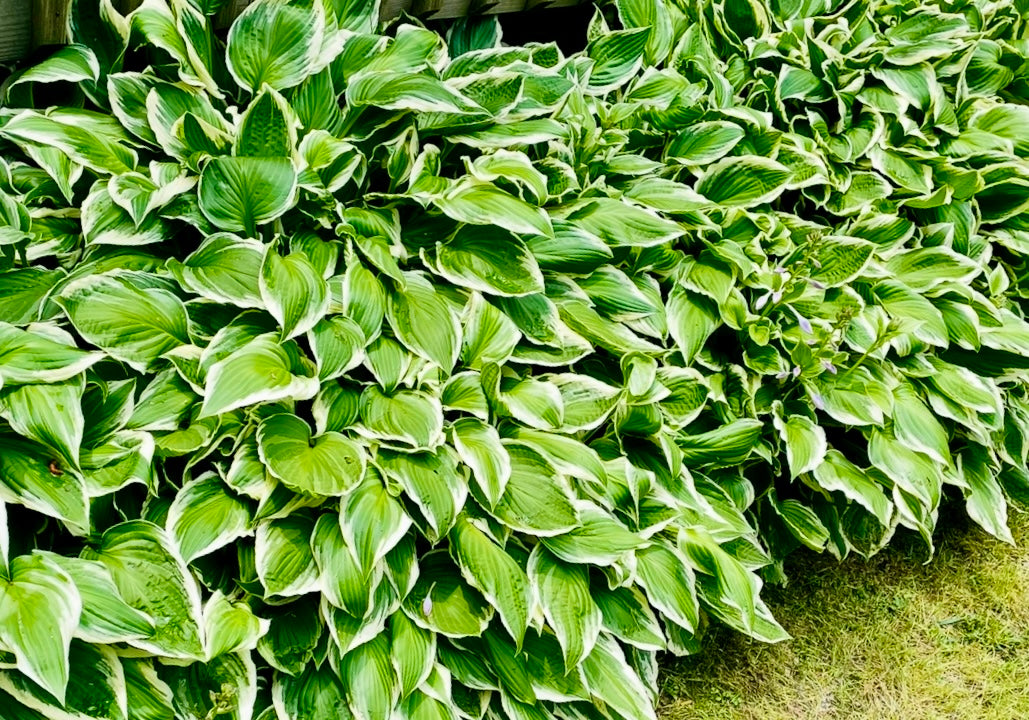
Hostas are the quintessential shade garden plant, beloved for their lush foliage that comes in a vast array of colors, sizes, and textures. Planting them as bare root balls is an economical and effective way to establish them in your garden. The size of the root ball (6-10", 10-16", 16-20") simply indicates the maturity of the plant—care is identical for all sizes.
1. Understanding Your Hosta
-
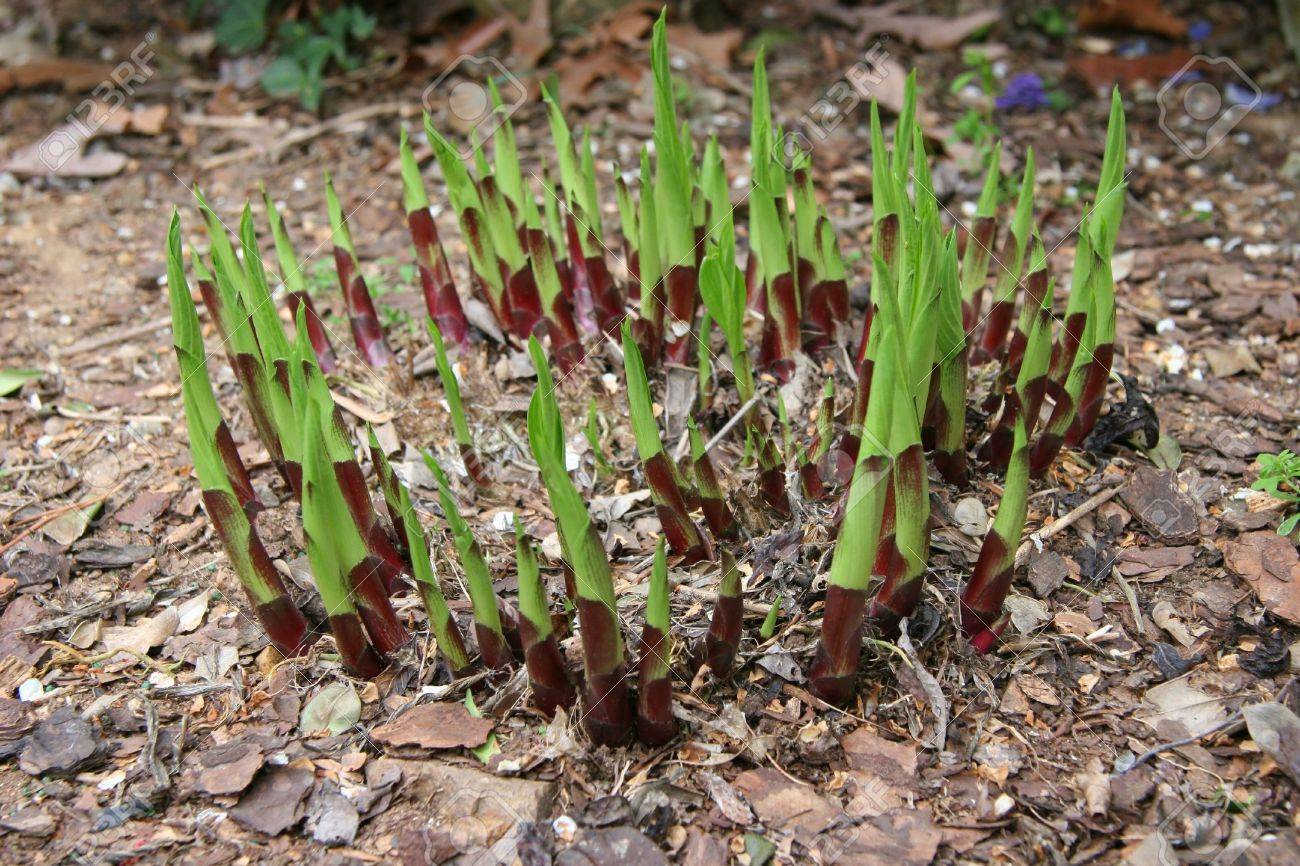
Plant Type: Herbaceous perennial. This means it will die back to the ground in the winter and re-emerge from its roots (crown) in the spring.
-
Ideal Location: Hostas are shade lovers. The ideal spot is one that receives morning sun and afternoon shade, or dappled light all day under the canopy of trees.
-
Green/Blue Hostas: Need more shade to retain their deep color. Too much sun will scorch blue varieties and fade green ones.
-
Gold/Variegated Hostas: Can often tolerate more sun and may even need it to develop their best and brightest colors. However, hot afternoon sun should still be avoided.
-
2. Planting Your Bare Root Hosta
When to Plant: The best time to plant is in the early spring (as soon as the ground is workable) or in the early fall, about 4-6 weeks before the ground freezes. This gives the roots time to establish.
Step 1: Unpacking and Soaking
-
As soon as you receive your root balls, unpack them.
-
Soak the roots in a bucket of cool water for 1-2 hours. This rehydrates them and wakes them up from dormancy. Do not leave them soaking for more than a few hours.
Step 2: Preparing the Planting Hole
-
Soil: Hostas thrive in rich, organic, well-draining soil. Amend your garden soil by mixing in a generous amount of compost or other well-rotted organic matter.
-
Digging the Hole: Dig a hole that is wider than it is deep. It should be about twice as wide as the root ball and deep enough so the crown (where the roots meet the base of the plant) will be level with the surrounding soil.
Step 3: Planting
-
Create a Mound: Form a small mound of soil in the center of the hole.
-
Position the Roots: Place the hosta root ball on top of the mound and spread the roots out down and away from the crown, like a spider's legs.
-
Check the Depth: The crown of the plant (the very top of the root ball where leaves will emerge) should be at or just slightly below soil level. Planting it too deep is a common mistake and can lead to crown rot.
-
Backfill: Gently backfill the hole with your amended soil, firming it lightly around the roots to remove air pockets.
Step 4: Watering
-
Water the newly planted hosta thoroughly to settle the soil around the roots.
3. Ongoing Care
💧 Watering
-
Hostas prefer consistently moist soil. Water them deeply about once a week, especially during dry spells. Large-leafed varieties require more water. A layer of mulch will help conserve moisture and keep roots cool.
🌿 Fertilizing
-
Hostas are not heavy feeders. A top dressing of compost in the spring is often sufficient. If your soil is poor, you can apply a balanced, slow-release granular fertilizer in early spring as new growth appears.
✂️ Maintenance
-
Flower Stalks: After the plant has finished blooming in the summer, you can cut off the flower scapes (stalks) to keep the plant's energy focused on foliage growth.
-
Fall/Winter Cleanup: After the first hard frost, the leaves will turn yellow and die back. You can leave them over winter or cut the foliage back to the ground to maintain a tidy look and reduce potential slug habitat.
🐌 Pest Control
-
Slugs and Snails: These are the primary pests of hostas. They chew holes in the leaves. There are many control methods, including beer traps, diatomaceous earth, and slug baits.
-
Deer: Deer find hostas to be a delicacy. If you have deer in your area, you will need to use repellents or fencing.
4. What to Expect
-
First Year: "The first year they sleep, the second year they creep, and the third year they leap!" Be patient. Your hosta will focus on root growth in its first year.
-
Maturity: A hosta is considered mature in about 3-5 years, at which point it can be divided in the spring or fall to create more plants.