Eden on Earth
Colocasia Elephant Ear Rhizome
Colocasia Elephant Ear Rhizome
Couldn't load pickup availability
NOTE: SHIPPING NOW!
How to Plant and Grow Colocasia (Elephant Ear) Rhizomes
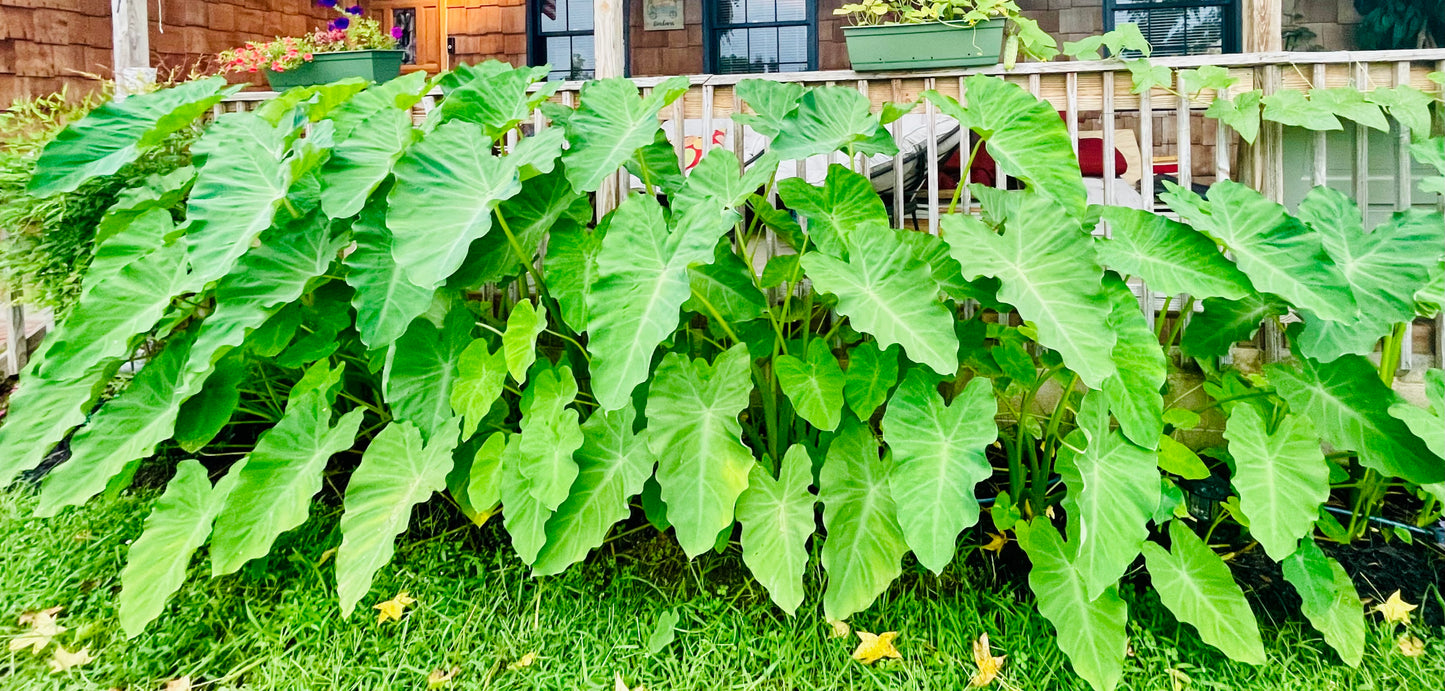
Colocasia, commonly known as Elephant Ears or Taro, are dramatic tropical plants grown for their enormous, heart-shaped leaves. Planting them from a rhizome (often called a bulb or tuber) is the most common way to grow them. With proper care, these rhizomes will quickly grow into magnificent specimen plants.
1. Understanding Your Rhizome
-
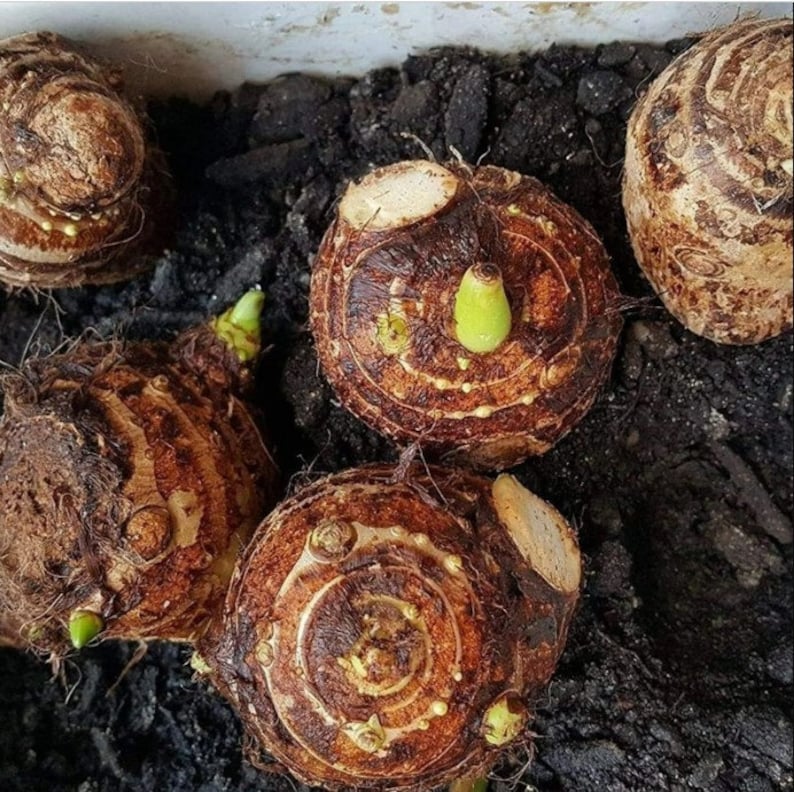
What it is: The rhizome is a starchy, underground storage stem. It's the engine of the plant.
-
Orientation: Look at the rhizome. It may have a "top" and "bottom." The top is often the more pointed end and may show remnants of old stems or small, budding growth points. The bottom is usually smoother and may have some dried roots. If you can't tell, don't worry—plant it on its side, and it will figure out which way is up.
2. Planting Your Colocasia Rhizome
When to Plant: Start the rhizome indoors 4-6 weeks before your last frost date to get a head start, or plant it directly in the garden after all danger of frost has passed and the soil has warmed to at least 65°F (18°C).
Method 1: Starting Indoors
-
Pot Selection: Choose a pot that is at least 6-8 inches in diameter with good drainage holes.
-
Soil: Use a high-quality, well-draining potting mix.
-
Planting:
-
Fill the pot with soil, leaving a few inches at the top.
-
Place the rhizome on the soil surface.
-
Cover it with 1-2 inches of soil. The very top of the rhizome should be just under the surface.
-
-
Watering: Water the pot well once. Then, water only sparingly until you see the first green shoot emerge. Keeping the soil too wet before the plant has leaves can cause the rhizome to rot.
-
Location: Place the pot in a warm, bright location. A heat mat can speed up sprouting.
-
Transplanting: Once sprouted and the weather is warm, you can transplant it into a larger container or into the garden.
Method 2: Planting Directly in the Garden
-
Location: Choose a spot that receives full sun to partial shade. In hotter climates, some afternoon shade is beneficial. Colocasia can also be grown in boggy areas or at the edge of a pond.
-
Soil Preparation: They are heavy feeders. Prepare the soil by amending it with a generous amount of compost or other rich organic matter.
-
Planting: Dig a hole and plant the rhizome so that its top is 2-4 inches below the soil level.
-
Watering: Water the area thoroughly after planting.
3. Ongoing Care
💧 Watering
-
Key to Success: Colocasia are water-loving plants. Once they have several leaves and are actively growing, they need consistently moist to wet soil. They are one of the few plants that is difficult to overwater in the summer heat. Do not let them dry out.
🌿 Fertilizing
-
Heavy Feeders: To get massive leaves, you need to fertilize regularly.
-
What to Use: Use a balanced, water-soluble fertilizer every 2-3 weeks during the growing season. A high-nitrogen fertilizer will also work well to promote leaf growth.
🌡️ Climate and Winter Care
-
In Warm Climates (Zone 8+): Colocasia can often be left in the ground over winter. Apply a thick layer of mulch for protection.
-
In Cold Climates (Zone 7 and below): The rhizomes must be dug up and stored for the winter.
-
After the first light frost, cut the foliage back to about 6 inches.
-
Carefully dig up the rhizomes.
-
Allow them to dry in a shady, airy spot for a few days.
-
Store them in a breathable container (like a paper bag or cardboard box) filled with peat moss or sawdust. Keep them in a cool, dark, and dry place (like a basement or garage) until it's time to replant in the spring.
-
⚠️ A Note on Toxicity
-
All parts of the Colocasia plant are toxic if ingested raw due to calcium oxalate crystals. Keep away from pets and children who may chew on plants.