Eden on Earth
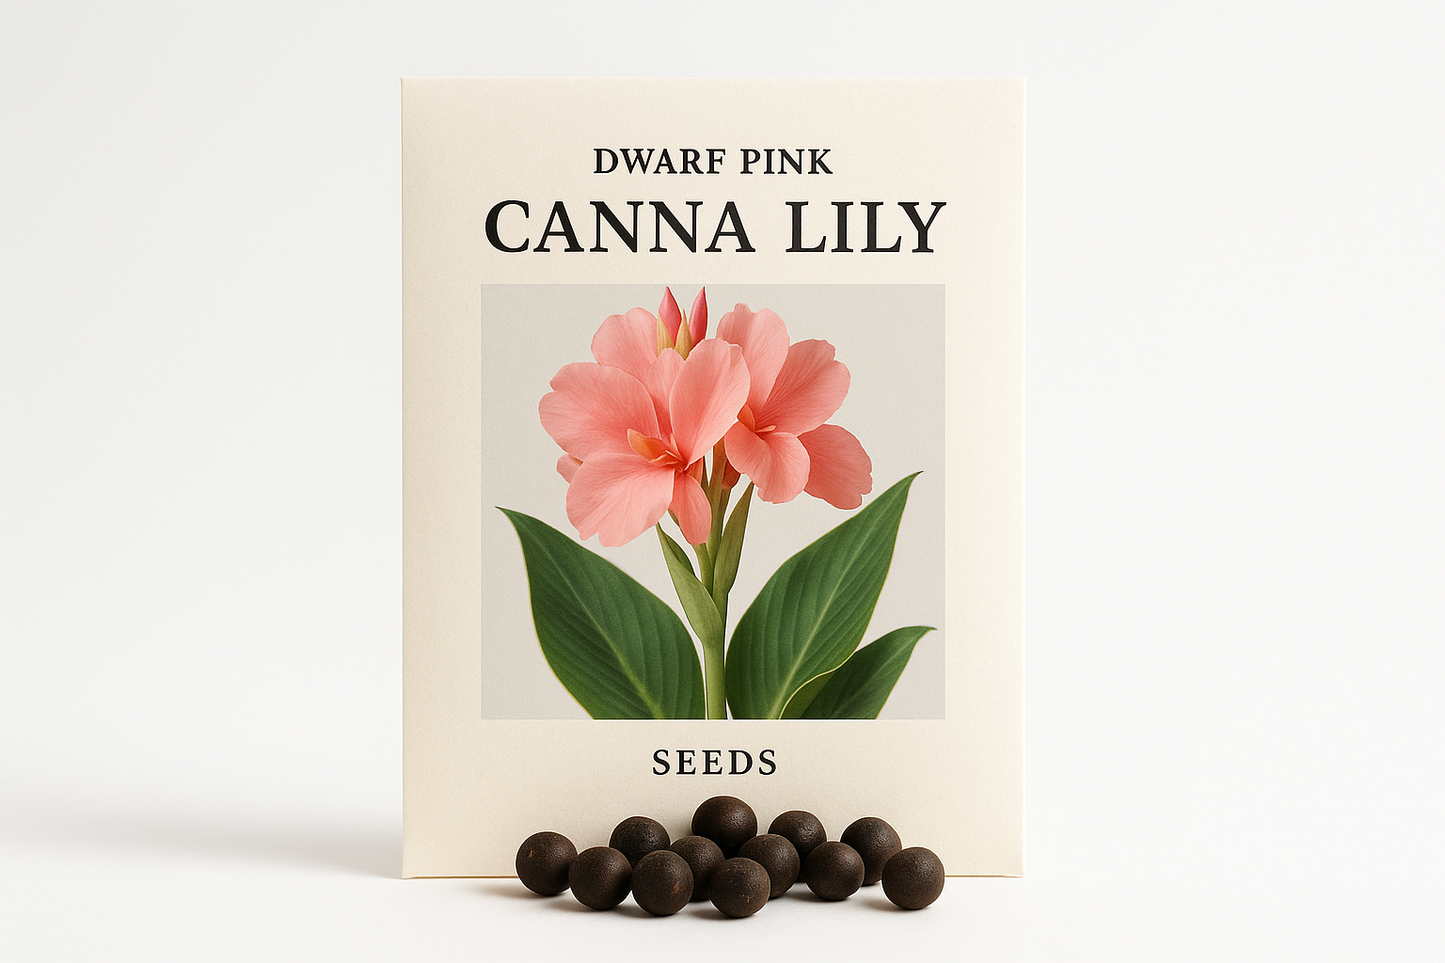
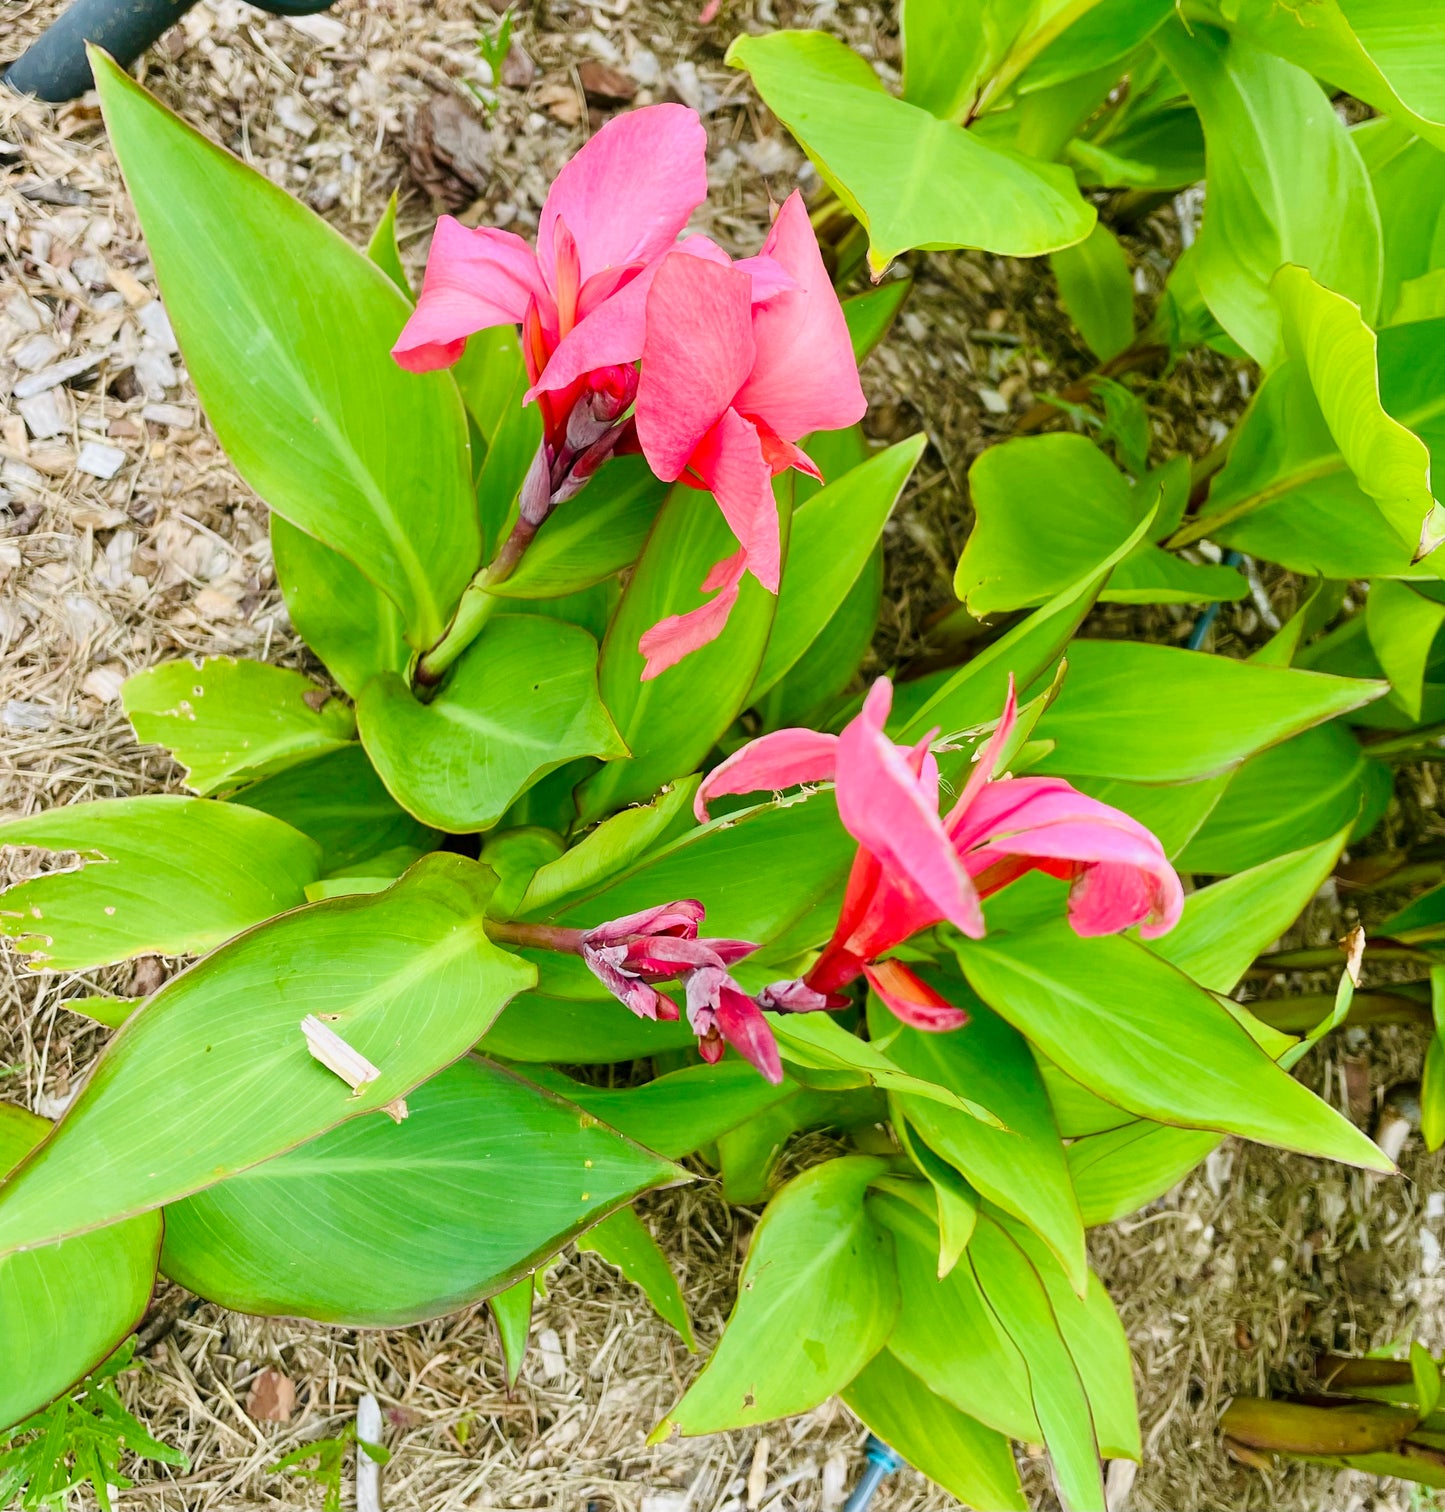
5x Dwarf Pink Canna Lily Seeds
5x Dwarf Pink Canna Lily Seeds
Couldn't load pickup availability
NOTE: This product is a pack of 5 seeds!
How to Germinate Canna Lily Seeds
Growing Canna Lilies from seed is a patient but rewarding process. Like lotus seeds, canna seeds have a very tough, water-impermeable seed coat that must be broken (scarified) before they can germinate. The variety (Dwarf Pink, Indian Shot) does not change the germination method.
1. Understanding the Canna Seed
-
Hard Seed Coat: Canna seeds are small, round, black, and famously hard—so hard they are sometimes used as beads and were historically used as musket shot, hence the name "Indian Shot."
-
Scarification is Mandatory: The seed cannot absorb water to begin germination until you create an opening in its tough outer shell.
2. The Germination Process
Step 1: Scarification
The goal is to wear away a small part of the black seed coat without damaging the lighter-colored embryo inside.
-
Tools:
-
A metal nail file
-
Medium-grit sandpaper
-
Nail clippers (use with extreme care)
-
-
Methods:
-
Filing/Sanding: This is the safest method. Rub one side of the seed against the file or sandpaper until you wear through the black coat and expose the whitish/tan layer beneath. Stop as soon as you see this color change.
-
Clipping: Carefully use nail clippers to nip a tiny piece of the seed coat away. This is faster but riskier, as you can easily cut too deep and damage the embryo.
-
Step 2: Soaking
-
Purpose: Once scarified, the seed can now absorb water.
-
Method:
-
Place the scarified seeds in a cup or bowl of very warm (not boiling) water.
-
Let them soak for 24 to 48 hours. The seeds should swell noticeably, often doubling in size. This is a good sign that your scarification was successful.
-
If a seed doesn't swell after 48 hours, take it out, dry it, and try scarifying it again in a different spot.
-
Step 3: Sowing and Sprouting
-
When to Start: Start your seeds indoors 4-6 weeks before your last expected frost date.
-
Planting Medium: Use a seed starting mix or a standard, well-draining potting soil.
-
Method:
-
Fill small pots or a seed tray with moist soil.
-
Plant one seed per pot, about 1/2 inch deep.
-
Cover the pots with a plastic dome or plastic wrap to maintain high humidity.
-
Place the pots in a very warm location. Cannas need heat to germinate. A spot on top of the refrigerator or, ideally, on a heat mat set to 70-75°F (21-24°C) is perfect.
-
-
Timeline: Germination can be erratic. You may see the first sprouts in as little as 1 week, but it can take up to 3 weeks or more. Be patient.
-
Care After Sprouting: Once the seeds sprout, remove the plastic cover and place the pots in a location with bright, indirect light, like a sunny windowsill. Keep the soil consistently moist but not soggy.
4. Transplanting Outdoors
-
Harden Off: After all danger of frost has passed and your seedlings have several sets of leaves, you must acclimate them to outdoor conditions. Do this by placing them outside in a shady, protected spot for a few hours a day, gradually increasing their exposure to sun and wind over the course of a week.
-
Planting: Transplant the hardened-off seedlings into a sunny spot in your garden or a larger container. Cannas are heavy feeders and drinkers—they love full sun, rich soil, and consistent moisture.
Note: Canna Lilies grown from seed may not bloom in their first year. They will focus on developing a strong rhizome, and you can expect beautiful blooms in the second year and beyond.