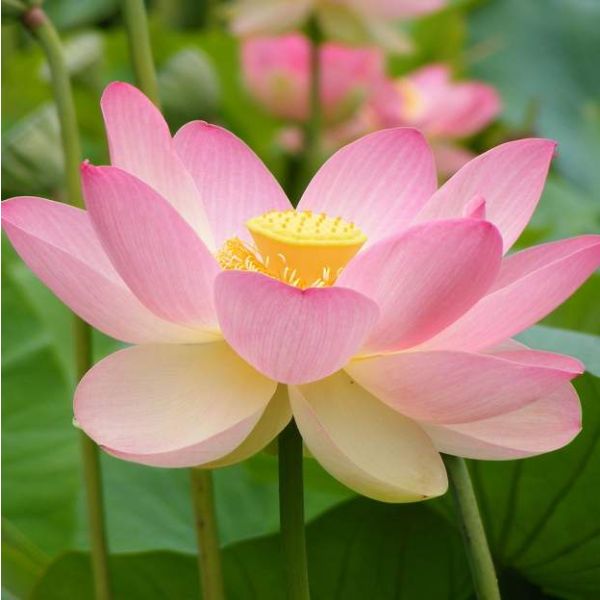
Eden on Earth
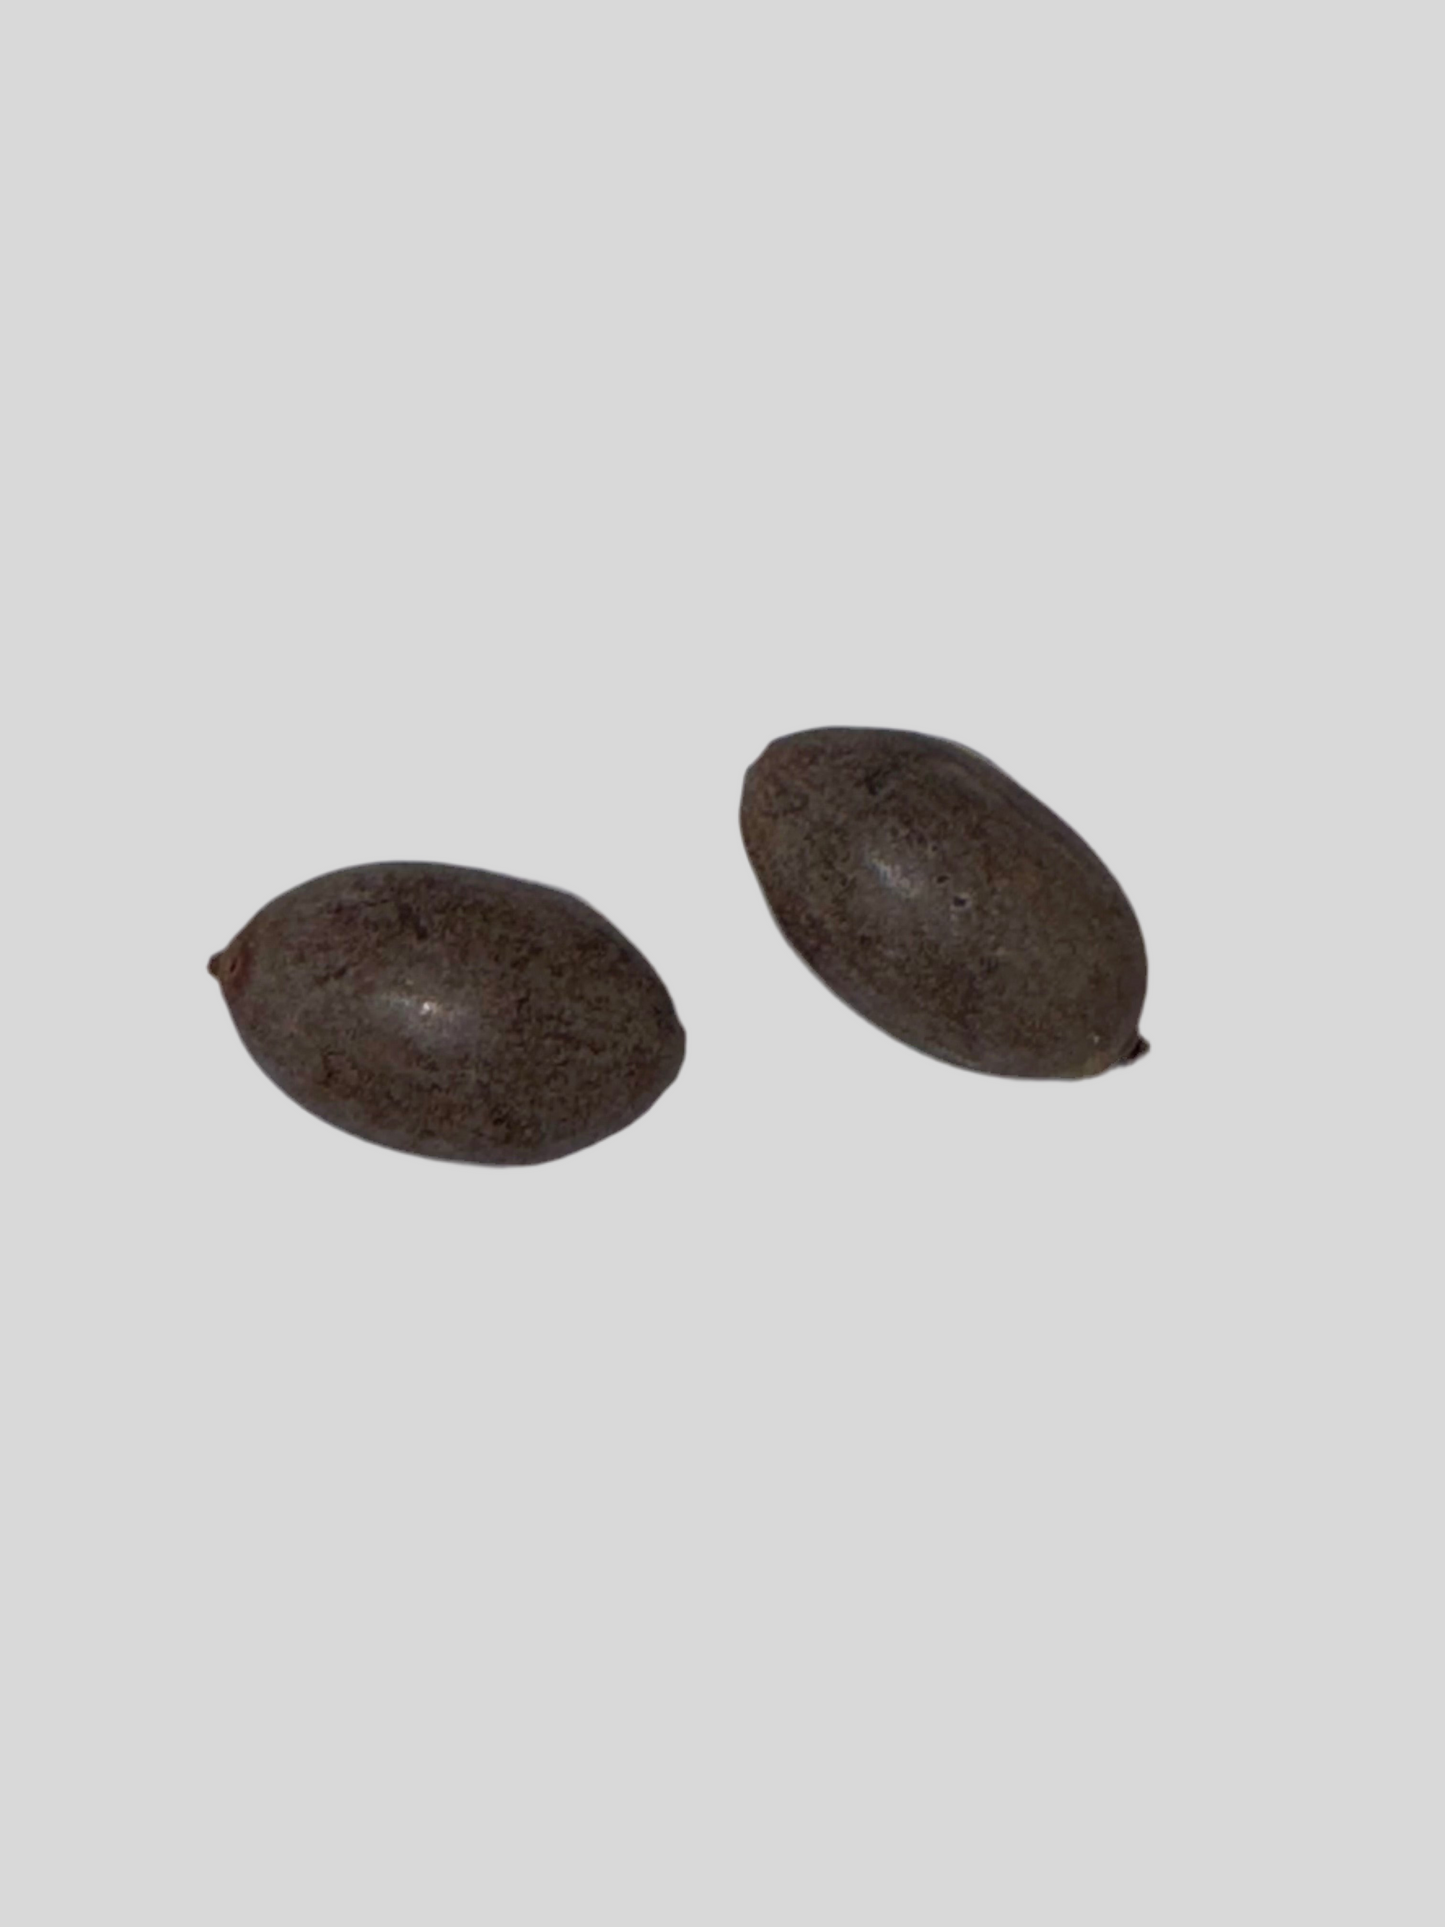
*LIMITED ITEM* 2x Sacred Pink Lotus Seeds
*LIMITED ITEM* 2x Sacred Pink Lotus Seeds
Couldn't load pickup availability
NOTE: This product is a pack of 2 seeds.
How to Germinate Sacred Pink Lotus Seeds (Nelumbo nucifera)
Germinating lotus seeds is a magical and rewarding experience. The seeds have an incredibly hard, protective coat that you must breach before they can absorb water and sprout. Follow these steps carefully for the best chance of success.
1. Understanding the Lotus Seed
-
Hard Seed Coat: Lotus seeds can remain viable for hundreds, even thousands, of years due to their rock-hard, impermeable shells. To germinate, this shell must be physically broken.
-
Identifying the Ends: Look closely at your seed. It will have two ends: a pointed end and a rounded end with a small dimple. You must scarify the dimpled, rounded end. The pointed end contains the delicate embryo that will become the plant. Damaging it will kill the seed.
2. The Germination Process
Step 1: Scarification (Breaking the Shell)
This is the most critical step. The goal is to file away the dark brown outer shell to reveal the cream-colored core, without damaging the core itself.
-
Tools:
-
A metal file (like a nail file or a small file from a hardware store).
-
Pliers to hold the seed securely (highly recommended).
-
Concrete or a rough paving stone can also work in a pinch.
-
-
Method:
-
Hold the seed firmly with pliers, with the dimpled, rounded end exposed.
-
Carefully and patiently file down the brown shell on that end.
-
Stop immediately once you see the cream-colored interior. You have now created an opening for water to enter. Do not file any deeper.
-
Step 2: Soaking
-
Container: Place the scarified seeds in a clear glass or jar. A clear container helps you monitor the water quality and see the seeds sprout.
-
Water: Fill the container with warm (not hot), non-chlorinated water. Dechlorinated tap water (left out for 24 hours) or filtered water is best.
-
Process:
-
Place the seeds in the water. Viable seeds should sink within a few hours. Any seeds that continue to float after a day are likely not viable and should be discarded.
-
Change the water EVERY DAY. This is crucial. The seeds release tannins and can quickly foul the water, which will rot the seeds. Use fresh, warm, non-chlorinated water daily.
-
The seeds will swell to nearly double their size within a day or two.
-
Step 3: Sprouting
-
Timeline: Within 4 to 7 days of soaking, you should see a small green sprout emerge from the scarified end of the seed.
-
Location: Keep the jar in a warm, bright location, but out of direct, harsh sunlight. A warm windowsill is perfect.
3. Potting Your Sprouted Seed
Once the sprout is about 4-6 inches long, it's time to plant it.
-
Container: You'll need a water-tight pot or container with no drainage holes, at least 1-2 gallons in size for starting.
-
Soil: Use a heavy clay-based soil or a soil specifically formulated for aquatic plants. Do not use standard potting mix, as its components (perlite, bark) will float and foul the water.
-
Planting Method:
-
Fill the container about 2/3 full with your heavy soil.
-
Add a layer of sand on top (optional, but helps keep the water clear).
-
Gently press the seed into the soil, leaving the sprout pointing up. You can use a small, smooth stone to gently hold the seed in place so it doesn't float up. Do not bury the sprout itself.
-
Very slowly and gently, add warm water until you have 2-4 inches of water above the soil line. Pouring it over your hand or a small plate can prevent disturbing the soil.
-
4. Next Steps
-
Place the potted seedling in a location that receives at least 6 hours of direct sunlight per day.
-
The first leaves that appear will be small floating leaves. As the plant establishes, it will send up larger aerial leaves that stand above the water.
-
For continued care, refer to a guide on growing established lotus plants.