Eden on Earth
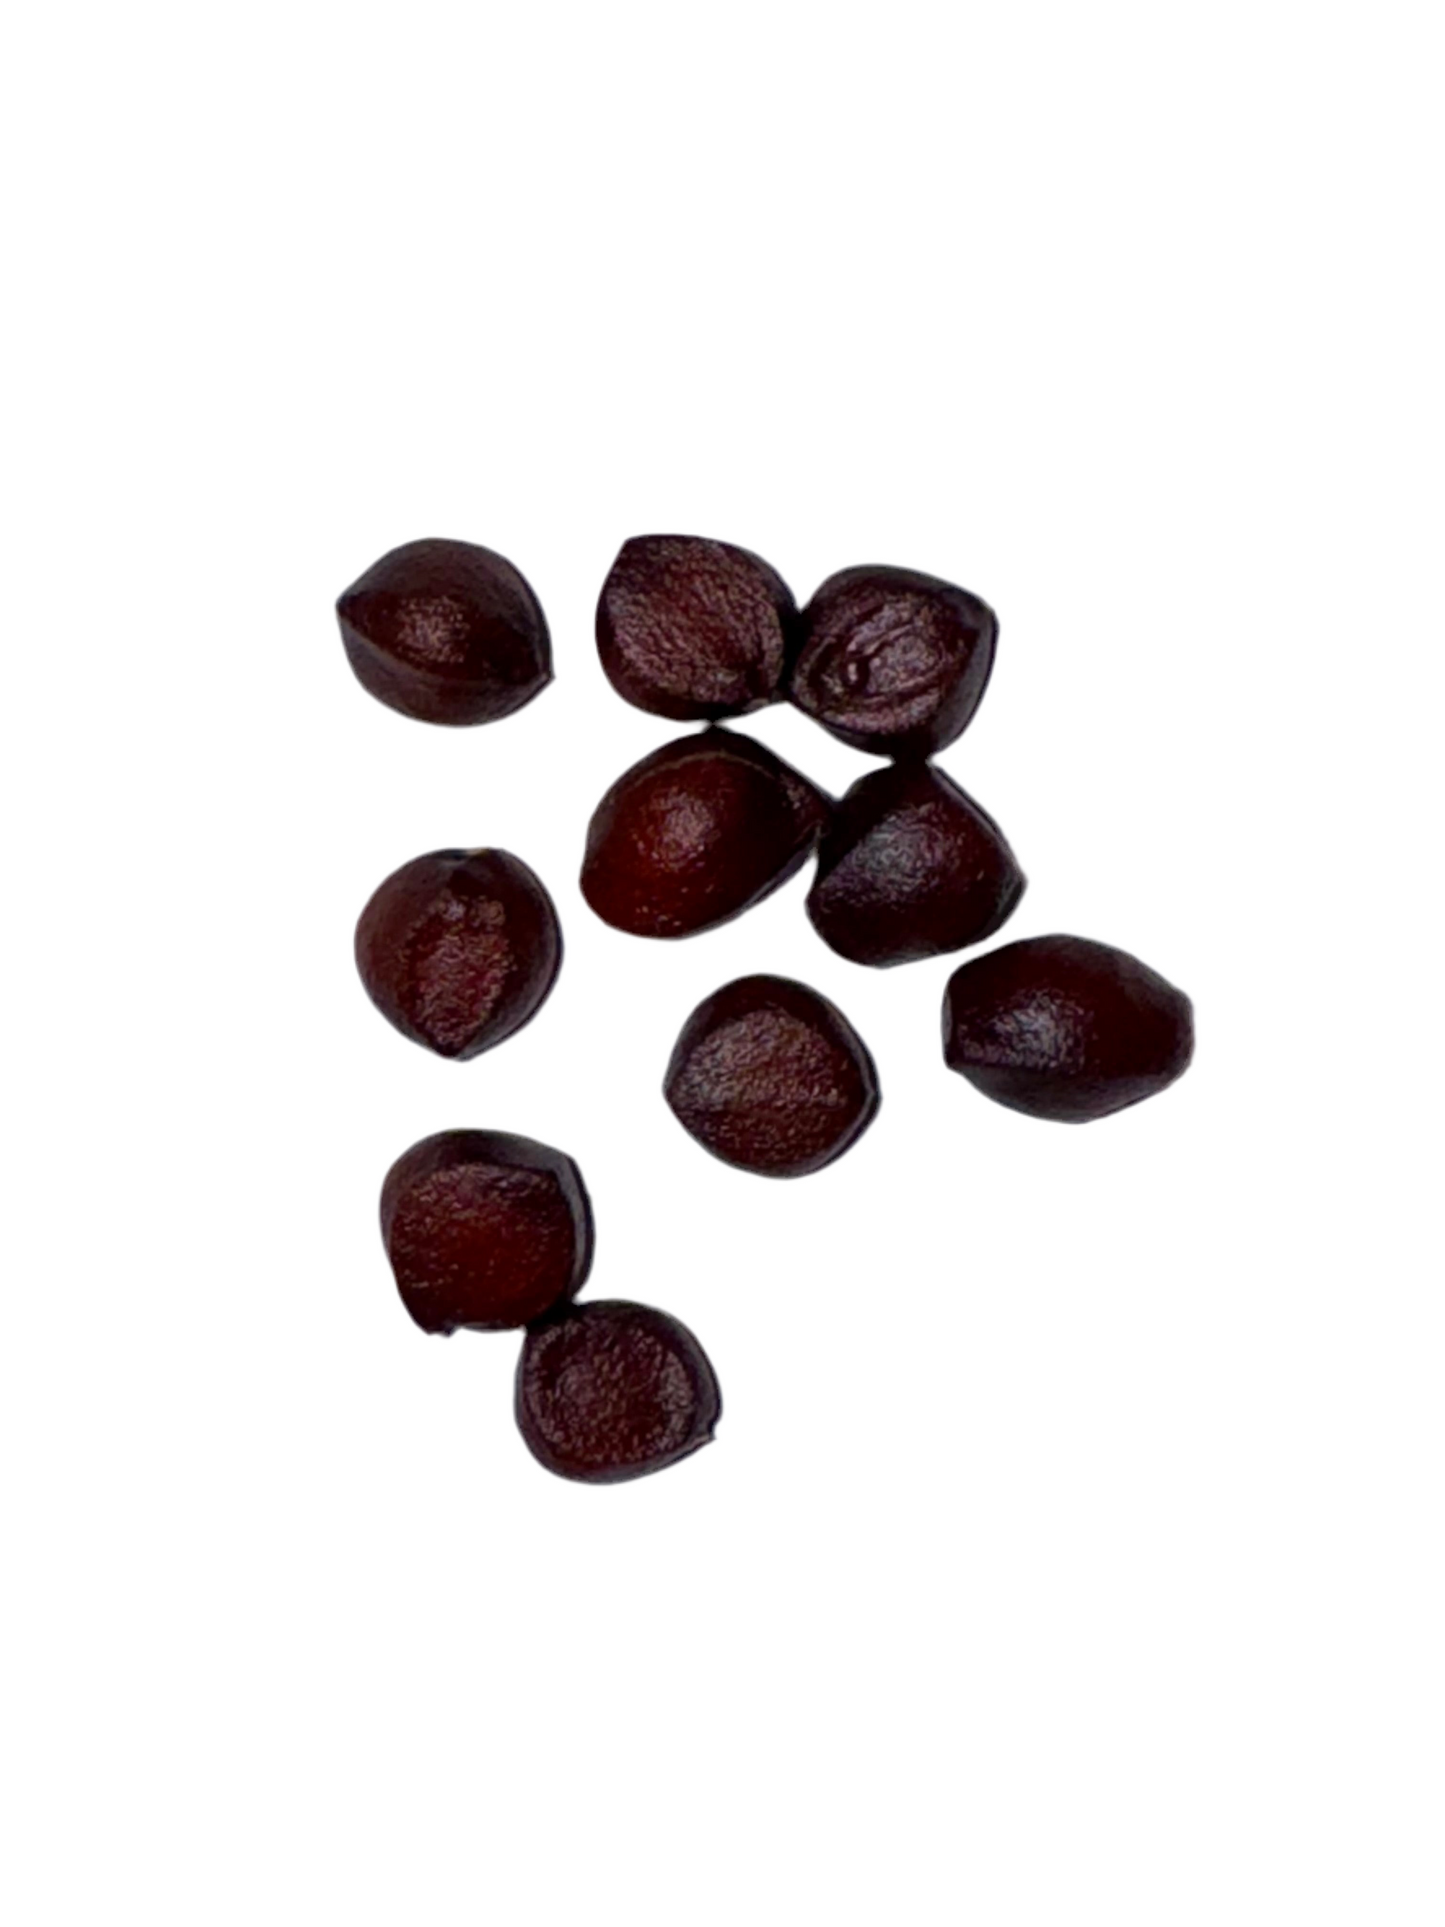
10x Yellow Iris Seeds
10x Yellow Iris Seeds
Couldn't load pickup availability
NOTE: This product is a pack of 10 seeds.
How to Germinate Yellow Iris Seeds
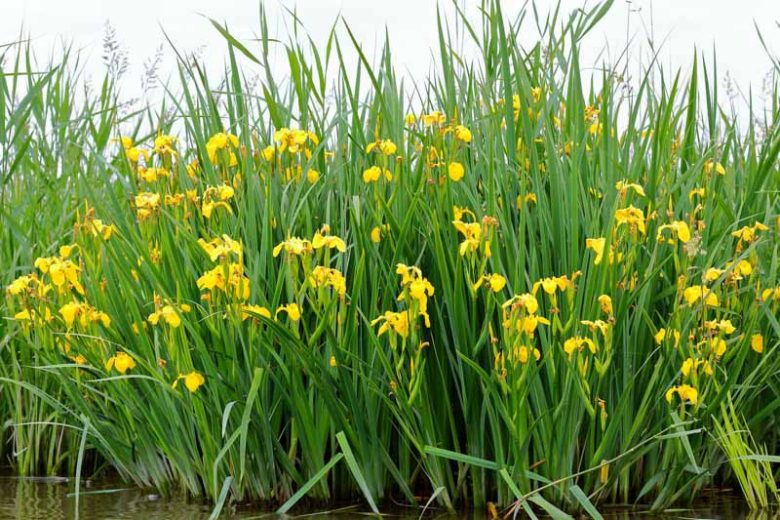
Growing irises from seed can be a longer process than growing from rhizomes, but it allows you to grow many plants economically. Many iris species, especially water-loving ones like the Yellow Flag Iris (Iris pseudacorus), have seeds that require a period of cold, moist conditions to break dormancy—a process called stratification.
1. Understanding Iris Seed Germination
-
Dormancy: Iris seeds have a built-in dormancy mechanism that prevents them from sprouting at the wrong time of year (e.g., right before winter).
-
Stratification: To break this dormancy, the seeds need to experience a "winter." We can simulate this with a process called cold, moist stratification. Without this step, germination rates will be very low, if they happen at all.
2. The Germination Process
Step 1: Soaking
-
Begin by soaking the seeds in warm water for 24-48 hours. This helps to soften the seed coat and allows the seed to absorb moisture, which is the first step in waking it up.
Step 2: Cold, Moist Stratification (The "Winter" Simulation)
This is the most important part of the process.
-
Materials:
-
A small zip-top plastic bag.
-
A sterile, moist medium like peat moss, vermiculite, or a paper towel. The medium should be damp, like a wrung-out sponge, not soaking wet.
-
-
Method:
-
Place the soaked seeds into the damp medium inside the plastic bag.
-
Seal the bag, pushing out most of the air.
-
Label the bag with the date and the name of the seeds.
-
Place the bag in the refrigerator. The vegetable crisper drawer is an ideal location.
-
-
Duration: Keep the seeds in the refrigerator for 60 to 90 days. Check on the bag occasionally to ensure the medium hasn't dried out.
Alternative Method: Natural Winter Sowing
If you are starting in the fall, you can let nature do the work.
-
Fill pots with a good quality seed starting mix.
-
Sow the seeds about 1/2 inch deep.
-
Place the pots outdoors in a protected location where they will be exposed to the cold, rain, and snow of winter but safe from pests.
-
The seeds will then sprout naturally in the spring when the weather warms up.
3. Sowing and Sprouting (After Artificial Stratification)
-
When to Sow: After the 60-90 day cold period is complete.
-
Planting:
-
Fill pots or seed trays with a sterile seed starting mix.
-
Sow the stratified seeds about 1/2 inch deep.
-
Gently water the soil and keep it consistently moist but not waterlogged.
-
-
Location: Place the pots in a location with bright, indirect light at a cool room temperature.
-
Timeline: Germination can be slow and sporadic. Be patient. You may see sprouts anywhere from a few weeks to a few months after sowing.
4. Caring for Seedlings
-
Once seedlings have emerged and developed a few true leaves, you can begin to fertilize them with a diluted, balanced liquid fertilizer.
-
When they are large enough to handle, transplant them into individual pots.
-
Harden them off by gradually acclimating them to outdoor conditions before planting them in their final location in the garden. Yellow Iris (Iris pseudacorus) is an aquatic/bog plant and thrives in wet soil or even in shallow water at the edge of a pond.
Note: Irises grown from seed will typically take 2-3 years before they are mature enough to produce their first flowers.